


Ad: As an Amazon Associate I earn from qualifying purchases, and I also earn commission from other affiliate links, at no additional cost to you. Learn more.
These vegan Tiramisu Cake Pops are a stunning party treat! With a homemade coffee sponge and coffee frosting interior, a rich dark chocolate coating and a coffee bean decoration, these delicious cake pops are egg free, dairy free and vegan. Read on to discover our pro tips for making perfect cake pops, including how to make them in advance.
Learn how to make Tiramisu Cake Pops at home, with a simple vegan coffee sponge cake and coffee buttercream interior, a silky smooth dark chocolate coating, a white chocolate drizzle and a chocolate coffee bean decoration.
We’re sharing our tips and answering all of your questions; helping you to make perfect cake pops every time. From how to create a smooth chocolate coating, to making cake balls that actually stick together; we’re guiding you from start to finish. You can even make these Tiramisu Cake Pops in advance and freeze them – pretty handy if you’ve got a party coming up!
Quick links:
- The full recipe
- Why you’ll love this recipe
- Success tips
- Step by step instructions with photos
- FAQs
- Other ‘must try’ vegan recipes!

Why these Tiramisu Cake Pops are special
Cake Pops are a novel and special treat to serve at parties such as showers, wedding anniversaries and birthdays. They’re also great for Valentine’s Day and Mother’s Day gifts!
These Tiramisu Cake Pops are a sophisticated and indulgent treat, perfect for coffee lovers! These cake pops feature a moist vegan coffee sponge and coffee buttercream interior; flavours that are reminiscent of a classic tiramisu. They’re coated in a rich dark chocolate, drizzled with white chocolate and decorated with a chocolate coffee bean and a little sparkle of gold leaf (if you’re feeling fancy or it’s an extra special occasion).
We are going to walk you through how to make a simple vegan coffee sponge cake and a quick and easy coffee buttercream. Here is an overview of the steps involved in making these delicious Tiramisu Cake Pops:
- Make a homemade vegan coffee sponge cake
- Make a coffee buttercream
- Crumble the cake into fine crumbs
- Mix the cake crumbs with the coffee buttercream
- Roll the mixture into balls
- Coat the cake balls in melted dark chocolate
- Drizzle with white chocolate and decorate with a chocolate coffee bean
- Enjoy!
Steps 1 to 5 can all be completed the day before if you prefer. Head to the recipe card for the full instructions and ingredients list.

Success Tips
- Bake the cake in advance. The cake needs to have cooled fully before you can use it, therefore we recommend baking the cake the day before so that it is ready to use.
- You can use shop-bought sponge cake. If your local supermarket sells a vegan vanilla or coffee sponge cake that you enjoy, you can use that for this recipe if you prefer (just remove any buttercream). Skip straight to the ‘To make the tiramisu cake pops’ section on the recipe card.
- Add coconut oil to create a smooth chocolate coating. We add coconut oil to the melted chocolate before coating the cake pops. Coconut oil thins the melted chocolate which helps the chocolate to coat the cake pops more evenly and smoothly.
- Let the melted chocolate cool before dipping. We recommend letting the melted chocolate cool for 10 minutes and chilling the cake balls in the fridge or freezer before dipping them. Using this technique will help the chocolate to dry more quickly (preventing smudges). Don’t dip cold cake balls into hot melted chocolate as this can cause the chocolate to crack.
- Refrigerate your cake pops. To make your Tiramisu cake pops last longer we recommend storing them in the fridge. Once the chocolate coating has dried fully, the cake pops can be laid on their side in an airtight container and refrigerated for up to 3 days until you are ready to serve them.
- Serve at room temperature. These Tiramisu Cake Pops taste best at room temperature so bring them out of the fridge an hour before serving.
How to make these Tiramisu Cake Pops
Ingredients
To make this tiramisu cake pops recipe, you’ll need the following ingredients:
Pantry ingredients
Self-raising flour — the recipe calls for 190g self-raising flour plus 3/4 tsp baking powder. If you only have plain flour (all purpose flour) then you can use 190g plain flour plus 2.75 tsp baking powder instead.
Cocoa powder
Instant coffee powder — or you can use coffee granules ground into a powder
Vegan dark chocolate
Vegan white chocolate
Vegan chocolate coffee beans — to decorate
Gold leaf — optional, to decorate
For the coffee buttercream
Vegan butter
Instant coffee powder
Dairy free milk
Chilled ingredients
Dairy-free milk — we use almond milk but soya milk also works well


Equipment
In addition to basic bowls, saucepans and utensils, you’ll need the following equipment to make this recipe:
- Cake pop sticks (or lollipop sticks). We used 15cm (6″) tall paper sticks.
- A 20cm (8″) sponge cake tin
- A small ice cream scoop is so helpful!
- A cake pop stand*
*A cake pop stand will make your life easier when decorating your tiramisu cake pops. You can create a makeshift stand by pressing the cake pop sticks into a cardboard box or piece of polystyrene.
Note: If you’re making a stand out of a cardboard box, opt for a shallow box — you want the cake pop sticks to be taller than the box so that the cake pops don’t slip all the way in.
Steps for making Tiramisu Cake Pops
Make sure to head to the recipe card below for the full recipe and instructions!
Gather together your ingredients.
STEP 1. First, make the coffee sponge cake. Stir together the flour, cocoa, baking powder, coffee and sugar in a large mixing bowl. Add the melted coconut oil, dairy-free milk and vanilla. Stir together gently until just combined and then pour the cake batter into a 20cm round cake tin lined with parchment.
STEP 2. Bake in a preheated oven and then set aside to cool fully on a wire rack.


STEP 3. Make the coffee buttercream. Beat together the vegan butter, icing sugar, coffee powder and dairy free milk until smooth and fluffy.
STEP 4. Once the cake is cool, use a sharp knife to lightly trim off any firm or caramelised edges from the cake.


STEP 5. Crumble the cooled cake into fine crumbs into a large bowl and then add the coffee buttercream to the bowl. Stir to combine — the cake mixture should be the consistency of wet sand once combined.
STEP 6. Scoop approximately 1 tablespoon of mixture per cake pop, roll it into a ball and place it onto a baking tray lined with non-stick paper (you should get approx 35 4cm / 1.6 inch balls). Place the tray in the fridge or freezer until the cake pop balls are firm and then re-roll them between your palms for a few seconds to smooth out the surface.
STEP 7. Melt the dark chocolate using a double boiler (a medium bowl set over a saucepan of simmering water), stirring in a tablespoon of coconut oil. Press a hole into the center of the cake ball using the cake pop stick (or lollipop stick). Dip the cake pop stick in the melted chocolate and then place it into the hole. As it sets, the chocolate will help to keep the stick in place.


STEP 8. Dip each cake pop into the melted dark chocolate, swirling it around to coat it fully. Allow any excess coating to drip off and then place the cake pops in a cake pop stand/holder.
STEP 9. Once the dark chocolate has set, drizzle with melted white chocolate and immediately place a chocolate coffee bean on top. Add a little gold leaf if desired. Place the cake pops somewhere cool to set fully.


FAQs
Help! How do I get my cake pops to stick together?
Cake pop filling mixture (the buttercream + cake crumbs) should be the consistency of wet sand once mixed. If it is too dry it will not come together into a ball, so you will need to add more buttercream, which should solve the issue.
What is the secret to dipping cake pops?
Adding coconut oil to the melted chocolate (around 1 tbsp per 400g chocolate) will loosen the mixture. This slightly thinner chocolate makes it easier to coat the cake pops because the thinner, glossy chocolate glides more easily over the cake ball, coating it more smoothly.
How long should I chill my cake pops before dipping?
Once you’ve rolled your cake pop mixture into balls, chill the balls for around 30 minutes in the freezer or 3 hours in the fridge until they’re really cold. This will help to set the chocolate coating much more quickly.
Note: Make sure that the melted chocolate is not hot when you dip your cold cake balls otherwise the chocolate coating could end up cracking. Set the melted chocolate aside at room temperature for 10 minutes to allow it to cool before dipping the cake balls.
Can you leave cake pops in the fridge overnight before dipping?
Yes, uncoated cake pops can be stored in the fridge overnight in an airtight container before they are dipped in melted chocolate. This is a good way to get ahead and one of the great things about cake pops — they can be prepared in advance!
How do you dip cake pops without sticks?
If you do not have cake pop sticks you could use a skewer, toothpick or fork to hold the cake ball and dip it into melted chocolate. Once coated in chocolate, place the cake pops on a baking sheet lined with parchment paper. Put the tray somewhere cool to allow the chocolate to set and you’ll have yourself some delicious cake pop truffles instead!
Can you make cake pops the day before?
Cake pops can be prepped 1-2 days in advance or frozen for up to 6 weeks, making them a great party treat to make ahead.
To prepare the cake pops 1-2 days in advance. The coffee sponge cake can be baked up to two days in advance and you can put together and decorate the cake pops the day before you plan to serve them. Once the chocolate coating has fully dried you can store the cake pops lying down in an airtight container in the refrigerator.
To make the cake pops up to 6 weeks ahead. Cake pops can be stored for up to 6 weeks in the freezer. To freeze them, allow the chocolate coating and decoration to dry fully and then store them in an airtight container in the freezer. Allow the cake pops to defrost in the refrigerator overnight before serving them.
How do you display cake pops without a stand?
If you don’t have a cake pop stand you could choose to make cake pop truffles instead without the sticks. Serve them on a pretty plate in petit four cases.
Alternatively, you could create a homemade cake pop stand by covering a cardboard box with wrapping paper and piercing holes in the box using your cake pop sticks.
How should you store cake pops?
Once the chocolate coating is dry, cake pops can be stored in an airtight container (lying down) in the fridge for up to 3 days, or in the freezer for up to 6 weeks.
Loved these Tiramisu Cake Pops? Here are some more cake pop recipes to try:
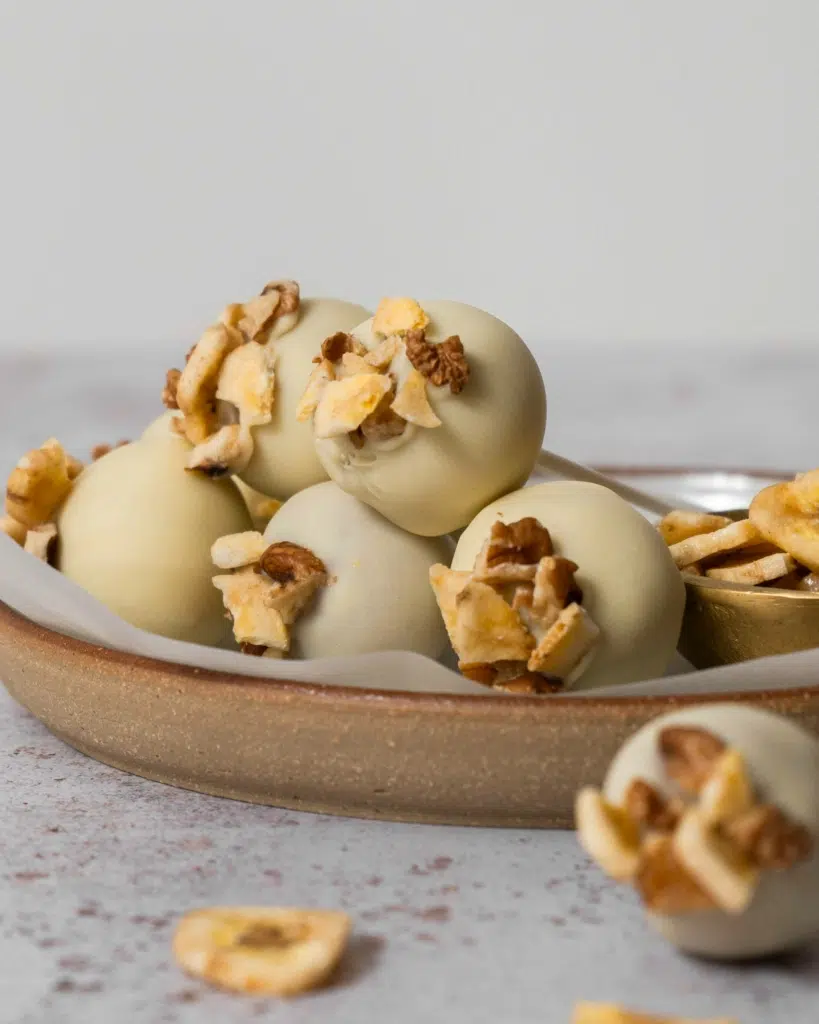
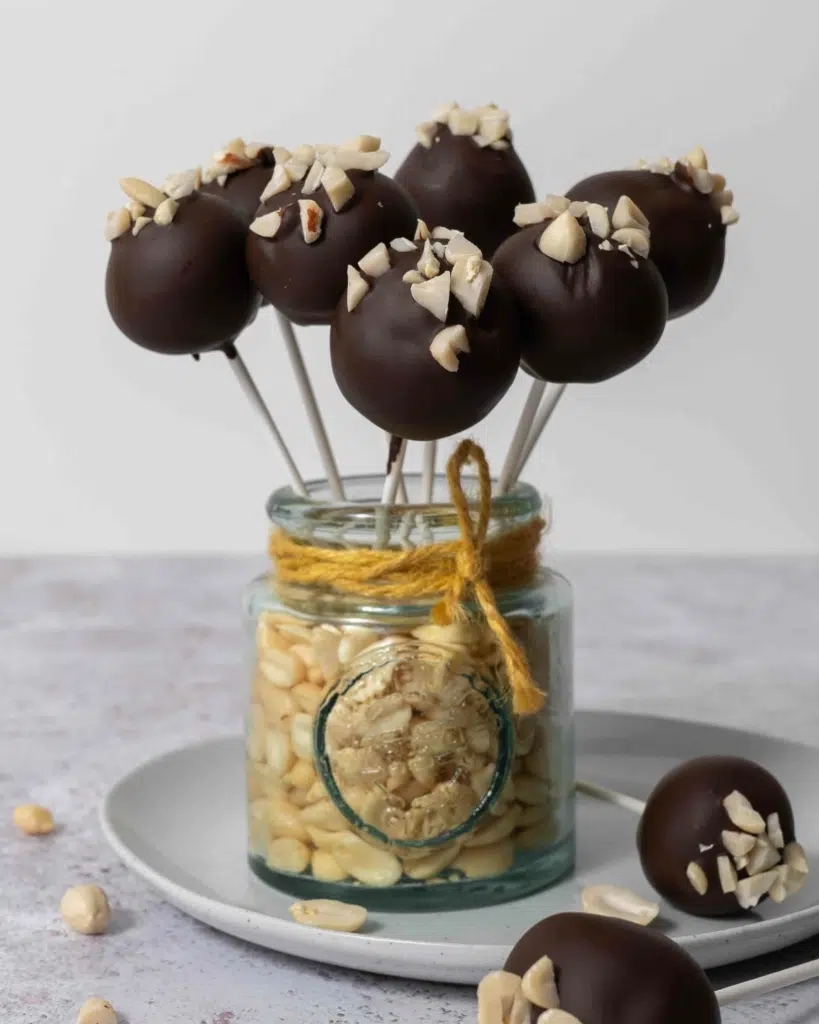
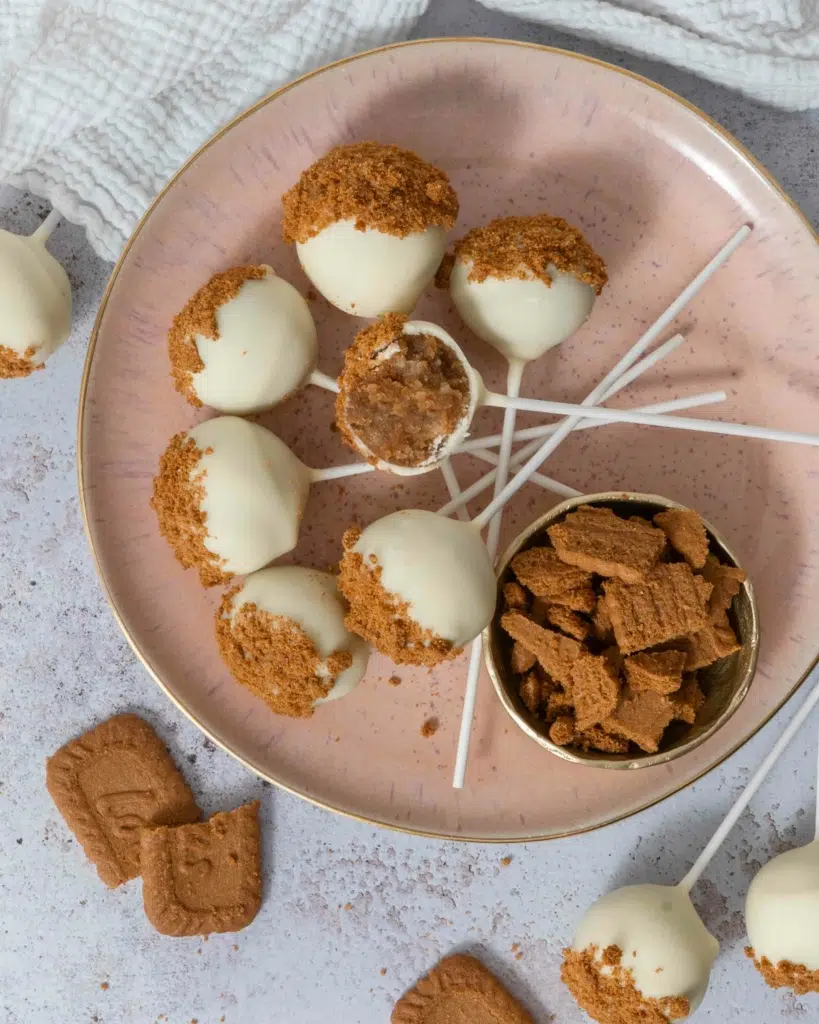
I hope you LOVE this recipe for Tiramisu Cake Pops! Please share this recipe with someone you think will love it because it’s our goal to encourage as many people as possible to try plant-based eating.
Also, don’t forget to tag @aveganvisit on social media when you make this recipe. I absolutely love seeing your re-creations! Enjoy 🙂 x
If you make this recipe, please leave a comment and star rating below – this provides helpful feedback to both me and other readers. If you want more delicious vegan recipes be sure to subscribe to the A Vegan Visit newsletter. We’d also love for you to join the AVV community on Youtube, TikTok, Instagram, Pinterest and Facebook.
The Full Recipe:

Tiramisu Cake Pops
Ingredients
For the coffee sponge:
- 75 g coconut oil
- 260 g dairy free milk
- 260 g self raising flour
- 1.5 tbsp instant coffee powder (or granules ground to a powder)
- ¾ tsp baking powder
- 125 g soft light brown sugar
For the coffee frosting:
- 100 g vegan block butter (left out of the fridge for 1 hour)
- 225 g icing sugar
- 4 tsp instant coffee
- 2 tsp boiling water
Toppings:
- 400 g vegan dark chocolate (broken into small pieces)
- 200 g vegan white chocolate (broken into small pieces)
- 1 tbsp coconut oil (or vegetable oil)
- 25 coffee beans (chocolate covered are best!)
- edible gold leaf
You’ll also need:
- 25 tall (15cm / 6") paper cake pop sticks
Equipment
- Cake Pop Stand
- Cake Pop Sticks
Instructions
To make the coffee sponge:
- Add the coconut oil and dairy free milk to a saucepan and warm gently until the coconut oil has melted. Leave to cool to room temperature (don’t refrigerate).75 g coconut oil, 260 g dairy free milk
- Preheat the oven to 160°C fan (180°C conventional / 350°F / gas mark 4) and line one 20cm (8”) round sandwich cake tin.
- Sift the flour and baking powder into a large bowl.260 g self raising flour, 3/4 tsp baking powder
- Add the sugar and coffee to the bowl and mix the dry ingredients.125 g soft light brown sugar, 1.5 tbsp instant coffee powder
- Once cooled to room temperature, add the oil and milk to the bowl with the dry ingredients.
- Use a large whisk to mix gently for a few seconds until the cake batter is smooth and combined, don’t beat the mixture.
- Pour the cake batter into the lined cake tin.
- Place the cake tin in the preheated oven and bake for 30 minutes, or until a knife or skewer inserted into the centre of the cake comes out clean.
- Leave the cake in the tin for 10 minutes before transferring it to a wire rack to cool fully (around 1 hour).
To make the coffee frosting:
- Add 4 tsp instant coffee granules and 2 tsp boiling water to a small ramekin or cup. Stir the mixture to dissolve the coffee granules and then set it aside to cool completely.Note: It’s important that you do not use more than 2 tsp water to dissolve the coffee, otherwise it could make the frosting too soft.4 tsp instant coffee, 2 tsp boiling water
- Add the butter to a large mixing bowl and beat with an electric whisk or wooden spoon until light and fluffy.100 g vegan block butter
- Add the icing sugar and cooled coffee and beat again until combined.225 g icing sugar
To make the tiramisu cake pops:
- Place your cooled cake on a chopping board and lightly trim off any golden, firm or caramelised edges. Trim a very thin layer off the top and bottom of the cake to leave the soft interior. You can enjoy the offcuts to fuel your cake pop decorating!
- Crumble the soft cake interior into fine crumbs by breaking off chunks and rubbing them between your hands into a large mixing bowl.
- Add the cake crumbs to the bowl of frosting and stir well to combine. The consistency should be similar to wet sand.Note: Don’t crumble the cake straight into the bowl of frosting because you need to be able to pick up any larger pieces and rub them in your hands again to break the cake down into small crumbs. You won’t be able to do that if they’ve got frosting stuck to them.
- Use a spring-loaded small ice cream scoop (4cm / 1.6“) (or a tablespoon) to scoop out a ball of cake mixture. Roll the ball gently between your hands to smooth it out, it won’t be perfect but you will be able to smooth it out again later.
- Place the balls of cake mixture on a tray lined with parchment paper and place the tray in the fridge for 3 hours or the freezer for 30 minutes for the cake balls to firm up. Don’t skip this step - you need them to be firm.
- Once the cake pops have chilled and are firm, remove them from the fridge/freezer and roll them between your hands again to smooth out some of the lumps and bumps. Pop them back in the fridge whilst you prepare your toppings.
To decorate the tiramisu cake pops:
- Set aside a cake pop stand and 25 cake pop sticks. If you don’t have a cake pop stand then use the cake pop sticks to press holes in a small cardboard box or piece of polystyrene.Note: if you’re making a stand out of a cardboard box, opt for a shallow box - you want the cake pop sticks to be taller than the box so that the cake pops don’t slip all the way in.25 tall (15cm / 6") paper cake pop sticks
- First up, melt the dark chocolate. Place a small saucepan of water on the hob and bring it to a boil. Reduce the heat so that it is very gently simmering and place a bowl over the top of the saucepan. Make sure that the bottom of the bowl is not touching the water underneath.400 g vegan dark chocolate
- Add the dark chocolate to the bowl along with 1 tbsp coconut oil (or vegetable oil) and allow the chocolate to melt gently, stirring occasionally until it has fully melted.1 tbsp coconut oil
- Carefully take the bowl of melted chocolate off the top of the saucepan and set it aside to cool for 10 minutes so that it’s still liquid but cool to the touch.
- Take 5 cake pops out of the fridge. Press the cake pop stick into the centre of each to make a hole. Remove the stick, dip the end in the melted chocolate and then place it back in the hole you just made, this will help to keep it in place. Set it down, cake pop stick facing up, to allow the chocolate a few minutes to set.
- Pick up the cake pop by the stick and dip it in the melted dark chocolate, using a spoon to pour extra chocolate over the ball as necessary to fully coat it. Place the cake pop in the cake pop holder and set it aside somewhere cool to allow the chocolate to dry (ideally in the fridge if you’ve got space).Note: Decorate a few cake pops at a time and leave the rest in the fridge because dipping a cold cake pop into melted chocolate has the benefit of setting the chocolate quickly - less chance of smudging the chocolate!
- Once you’ve coated all of the cake pops in dark chocolate and the chocolate has dried, it’s time to add the decoration.
- You’ll want to melt the white chocolate in the same way that you melted the dark chocolate. Place a saucepan of water on the hob and bring it to a boil. Reduce the heat so that it is very gently simmering and place a bowl over the top of the saucepan. Make sure that the bottom of the bowl is not touching the water underneath.200 g vegan white chocolate
- Add the white chocolate to the bowl (you don’t need coconut oil this time as you want a thicker chocolate). Allow the chocolate to melt gently, stirring occasionally until it has fully melted.
- Carefully take the bowl of melted chocolate off the top of the saucepan and set it aside to cool for 10 minutes so that it’s still liquid but cool to the touch.
- Take your cake pops out of the fridge (you can decorate all of them at once). Drizzle a little white chocolate on top of each cake pop and immediately place a chocolate-covered coffee bean on top (so that it sticks to the melted chocolate).25 coffee beans
- If your cake pops are for a special occasion, you might like to add a little gold leaf or vegan gold sprinkles to each coffee bean for decoration.edible gold leaf
- Set the cake pops aside somewhere cool in the cake pop stand to allow the chocolate to set fully (ideally in the fridge if you’ve got space).
- Once the cake pops are fully dry, remove them from the stand and store them on their sides in an airtight container for easier storage.
- Store in the fridge for up to 3 days.
Notes
Nutrition
Tara
Hi, I’m Tara. I share comforting vegan recipes with a healthy twist – nourishing, approachable and designed for real life. I’m so pleased you’re here!