When you buy through our links, we may earn a commission. Learn more.
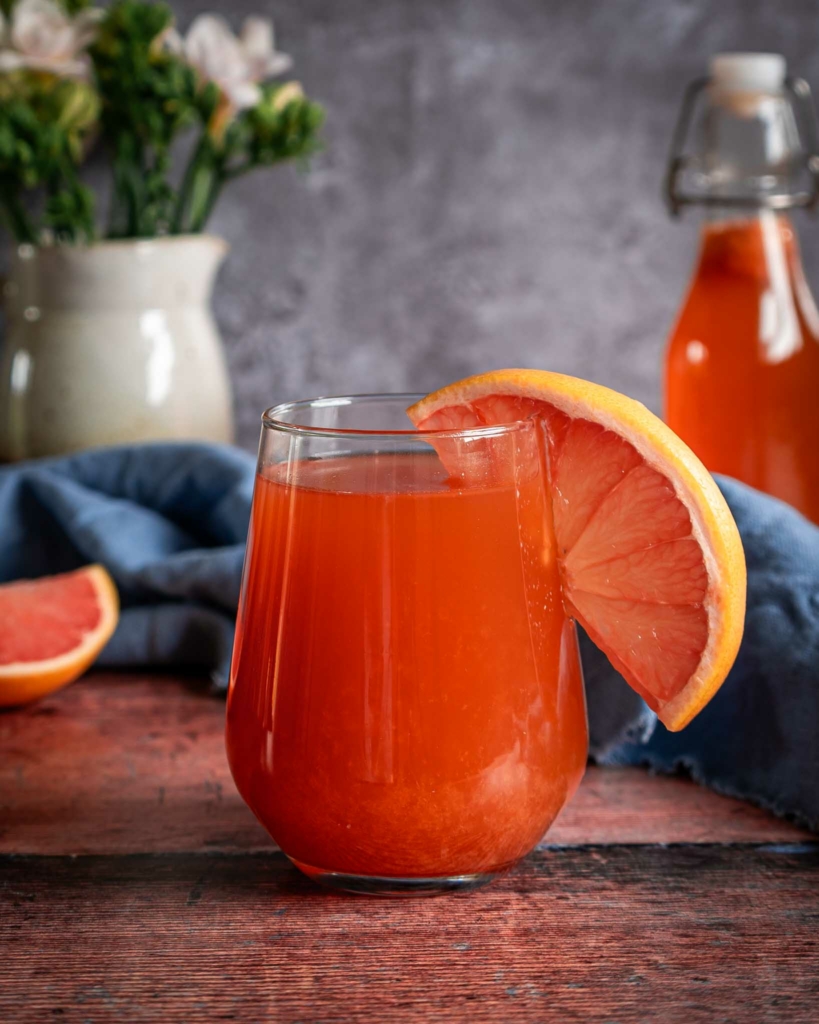
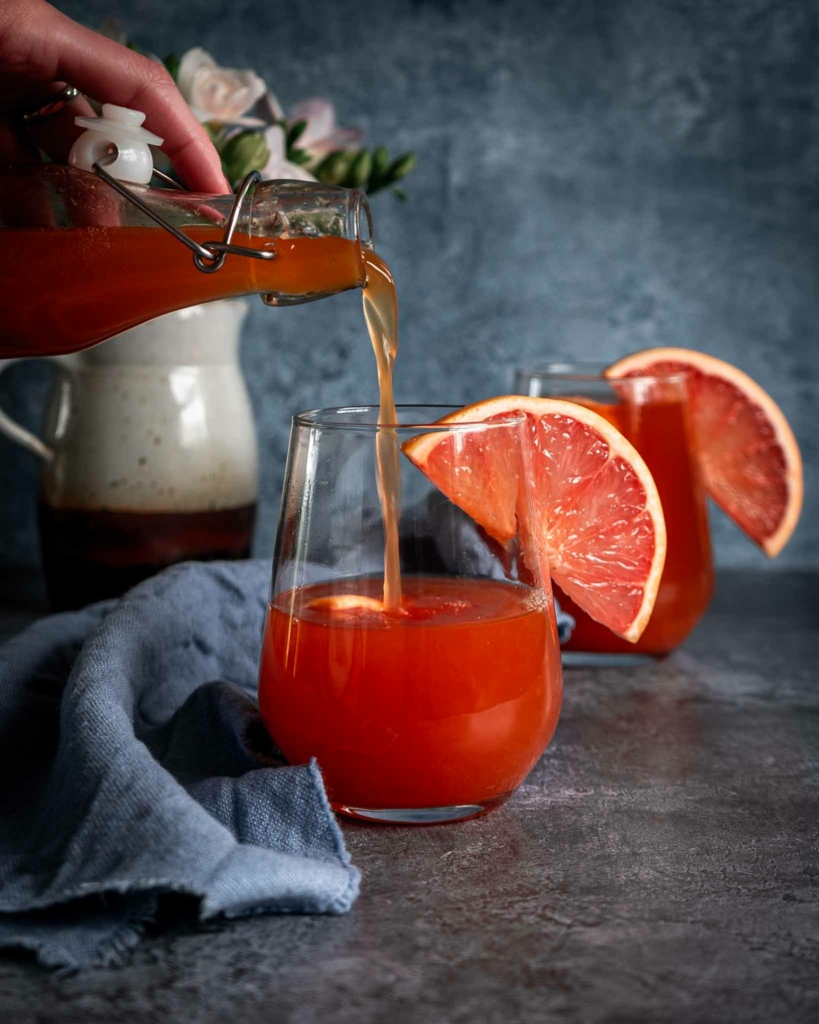
A beautifully fruity, fizzy and refreshing pink grapefruit kombucha with a sweet and tangy citrus flavour. Read on for our tips for making homemade kombucha!
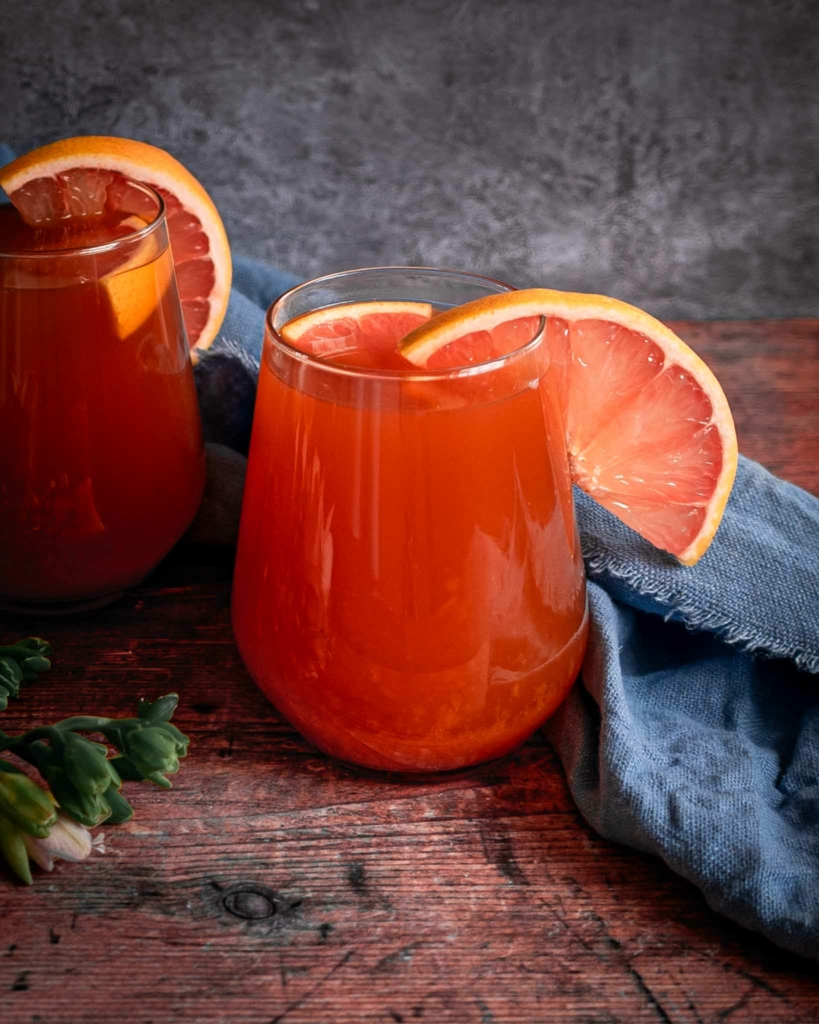
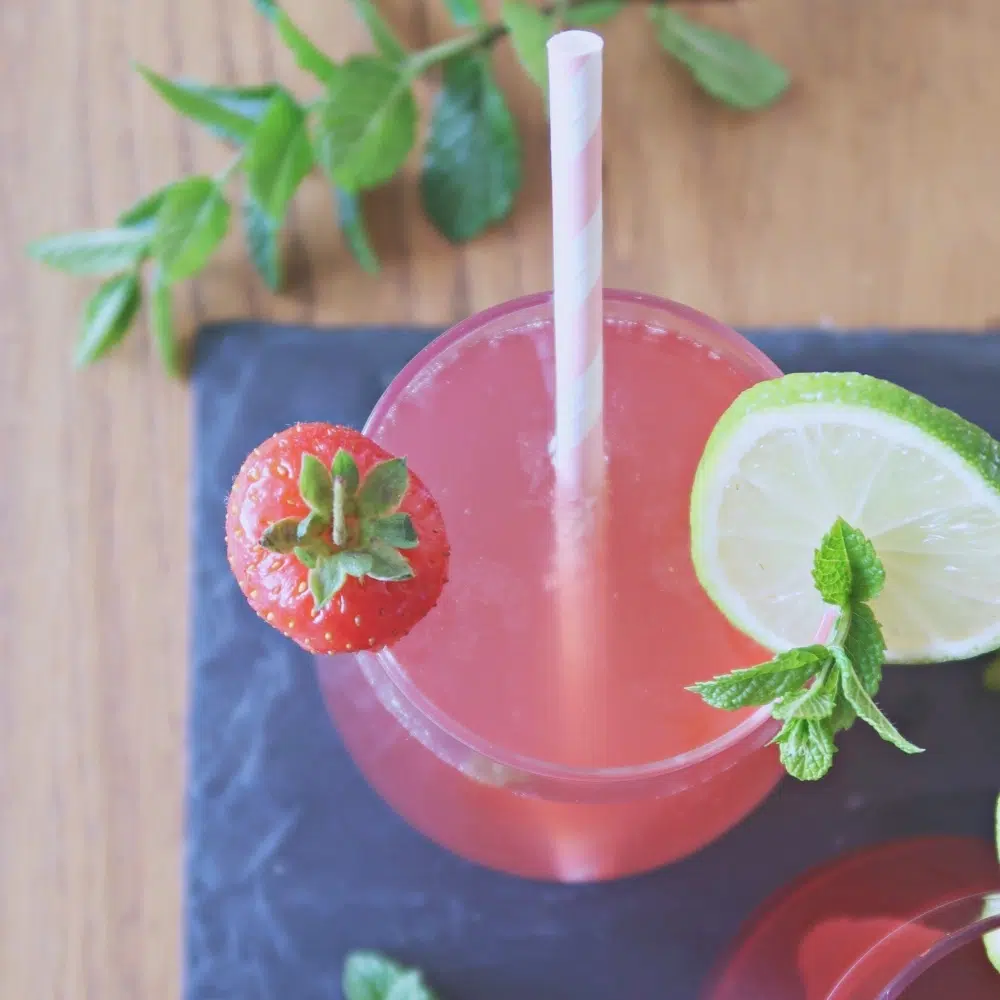
This refreshing pink grapefruit kombucha is light and fruity with a delicate fizz and a vibrant colour.
Though it might seem complicated, making your own kombucha isn’t as difficult as you may think. Today, we’re walking you through the entire process, including our crucial success tips, as well as pointing you to some fantastic resources for home brewing kombucha. We’ve even included a tutorial video on how to make this grapefruit kombucha recipe!
Quick Links:
- The written recipe
- The video recipe
- Why you’ll love this recipe
- The dictionary of kombucha terms
- Success tips
- Step by step instructions
- FAQs
- Other fruity recipes like this one
What is kombucha?
Kombucha is a fermented drink that is believed to have originated in China around 220 B.C. It is made by fermenting sweetened black or green tea with a SCOBY (a culture of bacteria and yeast).
Over the course of one to two weeks, this fermentation process turns the sweet tea into an effervescent and tangy low-sugar drink that contains probiotics, which may help to enhance gut health.
Why you’ll love this Pink Grapefruit Kombucha recipe
Costs just 30p per bottle* to make! Compare that to a shop-bought kombucha at around £2 and you’ve got a total saving of around £30 when you make a batch of kombucha at home.
* Excludes the costs of the SCOBY and equipment, which are all reusable items rather than one-off costs.
Light, fruity and summery. The inspiration for this kombucha came from a beautiful pink grapefruit kombucha I tried at Veda Restaurant in Lima, Peru (amazing vegan meals too!). The refreshing citrus flavour is perfect for those summer evenings; the tart grapefruit produces a tangy kombucha with a hint of sweetness.
A probiotic boost for your gut. Kombucha contains live bacteria and yeasts that are similar to the beneficial microorganisms found in the human gut. Whilst more human studies are needed, it is believed that these probiotics can help to balance gut microbiota, potentially improving digestion and enhancing overall gut health.
Low sugar. Whilst there is sugar added to this kombucha (a key component in making kombucha), much of it is used up during the fermentation process, leaving just a small amount behind in the finished product. Kombucha Kamp estimates that by the time kombucha has finished fermenting, just 2-6g of sugar remains per glass, compared to 24g in a glass of orange juice, making it a lower-sugar alternative to many drinks.
A SCOBY is the gift that keeps on giving. If you are new to kombucha brewing, let me introduce you to a SCOBY! A SCOBY is a jelly-like disk composed of bacteria and yeast, which work together to ferment tea into kombucha. It’s not a single-use item – as long as you keep your SCOBY in good health you can use it over and over again and with each new batch of kombucha it produces a new baby SCOBY that you can use in a new batch of kombucha. It’s clever stuff!
A great alternative to alcohol.* As someone who doesn’t drink much alcohol, it feels like such a treat to have a kombucha on a Saturday night! The probiotics are an added bonus.
* Note: Whilst generally considered non-alcoholic, kombucha can contain a small or trace amount of alcohol, which can vary from batch to batch. Therefore if you’re strictly avoiding alcohol (e.g. due to pregnancy), it is best avoided because it is difficult to determine the alcohol content of a home-brewed kombucha.
The Dictionary of Kombucha Terms
If you’re new to kombucha, it can seem daunting, in part due to the language used. Making kombucha is not as complicated as it sounds! Here are some of the key words/terms used (and what they actually mean):
Brewing vessel – A fancy term given to a large wide-neck glass jar (approx 1 gallon / 4.5 litres) in which the ‘first fermentation’ takes place.
If you buy a kombucha kit, chances are you’ll get a ‘brewing vessel’ included with it. Have a look at this website for some tips on choosing a brewing vessel.
Fermentation – Fermentation is a preservation process where microorganisms such as good bacteria and yeast turn sugar and carbohydrates in food and drinks into acids or alcohol (source).
Fermentation bottles – Food-grade bottles with glass that is thick enough to handle high-pressure contents and an airtight cap to trap in the fizzy bubbles!
This website has a great guide to choosing the right kombucha bottle.
SCOBY – A jelly-like disk which is composed of bacteria and yeast. You put the SCOBY into freshly brewed and cooled tea, along with some sugar, and it will work to ferment the tea into kombucha.
Starter tea – Unflavoured, usually un-carbonated fermented tea. This is what is created after the ‘first fermentation’ stage of making kombucha.
If this is your first time making kombucha, you can use an unpasteurised, unflavoured shop-bought kombucha (like this one). Once you’ve made your first batch of kombucha, remember to reserve some of the ‘starter tea’ created during the first fermentation stage, to use for your next batch of kombucha!
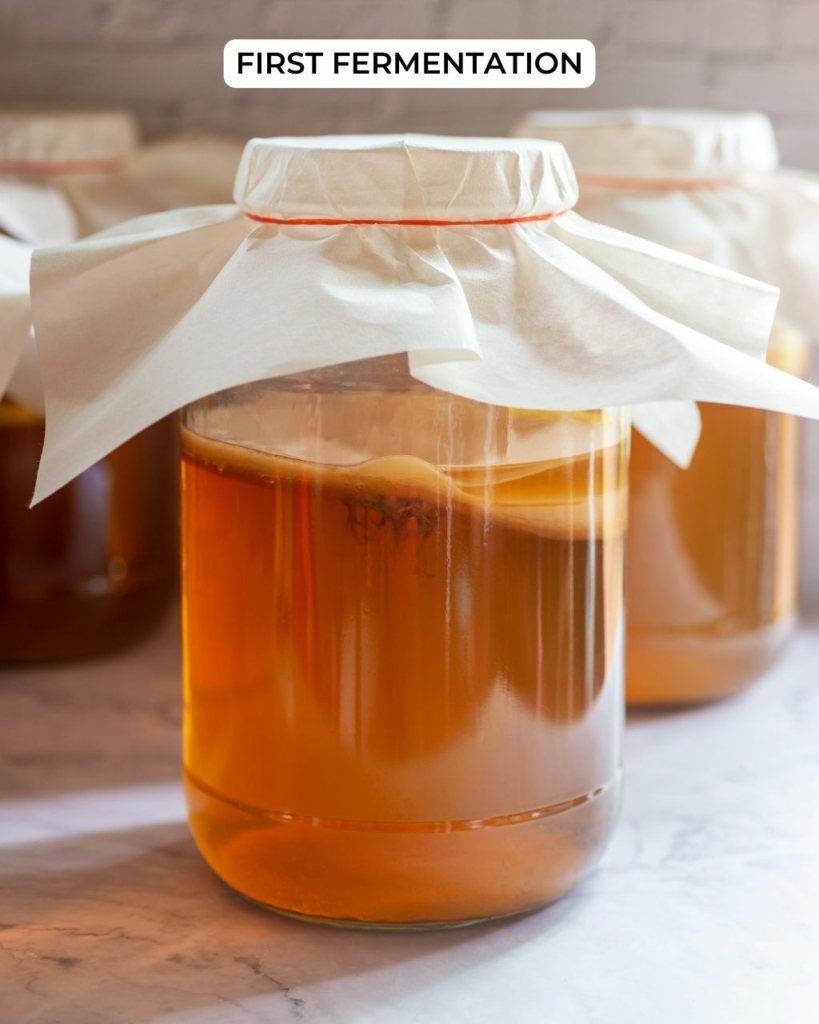
First fermentation – During ‘first fermentation’ freshly brewed tea, sugar, a SCOBY and starter tea are added to your brewing vessel. This sits for 7-10 days at room temperature to ferment, creating an unflavoured, un-carbonated, fermented tea (aka a new batch of ‘starter tea’).
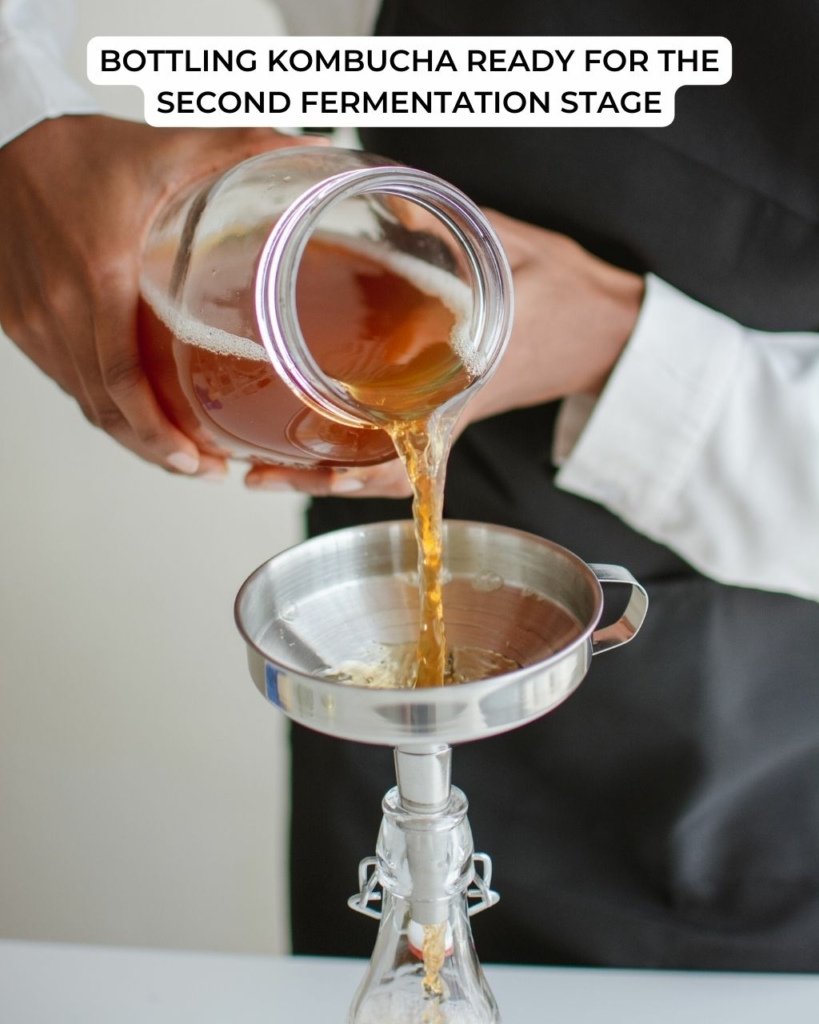
Second fermentation – During ‘second fermentation’, the tea you fermented during the ‘first fermentation’ stage is added to individual bottles along with flavourings (e.g. freshly squeezed fruit juice). Once the bottle caps are closed, this sits at room temperature for 2-7 days to naturally build carbonation, giving you a fizzy, flavoured kombucha.
You Brew Kombucha is a wonderful resource for all things kombucha – check out their guides and resources here.
Brief Overview of the Steps
Here’s a brief overview of the steps involved in making this pink grapefruit kombucha recipe:
First fermentation: (making the base tea)
- Make a batch of tea in your ‘brewing vessel’ (large jar)
- Stir in sugar
- Add cold water, starter tea (plain kombucha) and your SCOBY
- Set aside at room temperature to ferment for 7-10 days
Second fermentation: (bottling and getting fizzy!)
- Add fresh grapefruit juice and sugar to each bottle
- Top up with the tea you fermented in the first fermentation stage
- Seal with an airtight lid and set aside at room temperature to ferment for 2-7 days until bubbly
Looking for detailed step-by-step instructions? Head to the recipe card.
Success Tips
When I first started making kombucha at home I was amazed at how straightforward it was. This section will provide success tips for making kombucha at home.
Looking for detailed step-by-step instructions? Head to the recipe card.
Looking for a brief overview of this recipe? Head to the brief overview section.
1. Ensure a clean environment. As with all food and drink preparation, it’s important to prepare kombucha under hygienic conditions; keep the environment clean, hands washed and bottles sterilised to minimise the risk of harmful bacterial contamination.
2. Check your SCOBY. Before starting, it’s important to give your SCOBY a health check. It should be smooth, slightly translucent and free of mold. If you see any mold on your SCOBY (green, black or fuzzy spots), the SCOBY and batch of tea/kombucha should be discarded.
3. Use fresh grapefruit juice. Cartons of juice tend to have additives as well as added sugar. It’s important to use freshly squeezed pink grapefruit juice for this recipe for the best results.
4. Temperature is key. Keep your kombucha in a warm, but not hot, environment throughout the brewing process. Keep the liquid between 21°C – 32°C (70°F – 90°F) whilst it is fermenting (you can monitor this via a stick-on thermometer on the outside of your brewing vessel).
Note: If your liquid is too hot and it can kill your SCOBY and if it’s too cold it can send your SCOBY into a state of dormancy which could lead to mould. Check out this resource for more details on temperature during kombucha brewing.
5. Test for carbonation. Once your kombucha has been bottled and is undergoing its second fermentation keep an eye out for bubbles in the liquid. After 2 days, if you see bubbles, place one bottle in the fridge (this stops the fermentation process) and once chilled, test it to see how carbonated it is. If it is fizzy then place the other bottles in the fridge, if not, leave the other bottles out for a few more days before testing again.
Note: You can drink the test bottle of kombucha, it just may not be fizzy.
How to make this Pink Grapefruit Kombucha
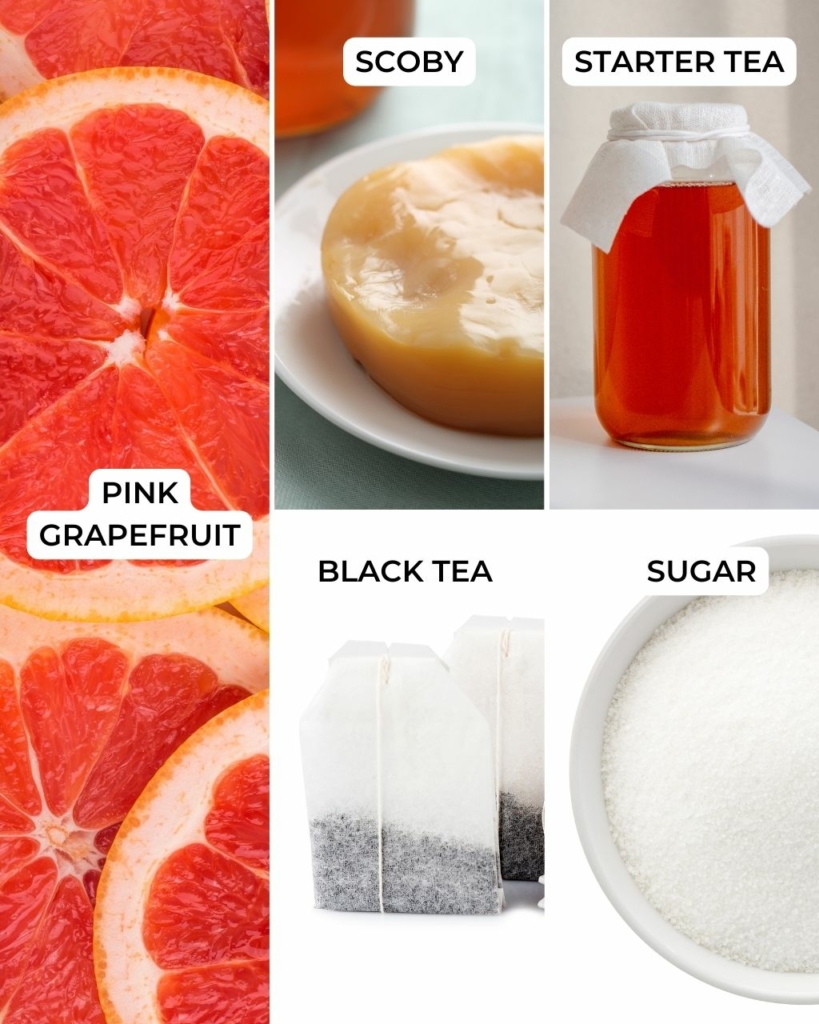
Ingredients needed to make Pink Grapefruit Kombucha
SCOBY – I purchased mine from Amazon. You can make your own (see the tips on this website here) if you’ve got more time on your hands (it takes 4-6 weeks).
Starter tea – This is unflavoured, unpasteurised kombucha (either shop-bought like this original kombucha from Equinox or from a previous batch of homemade kombucha).
Black tea bags – Opt for good quality, preferably organic black tea for best results and a great-tasting tea and kombucha. You can substitute for organic green tea although this may alter the flavour slightly.
Pink grapefruit – You’ll need enough to make 1 litre of freshly squeezed grapefruit juice (around 7 or 8 grapefruits).
Sugar – Ideally organic cane sugar
Note: Opt for organic ingredients where possible for best results.
Equipment needed to make kombucha
Large glass jar (brewing vessel) – it should hold at least 1 gallon (approx 4.5 litres) of liquid
Cloth – you’ll need a clean cloth such as a small piece of muslin, dishcloth or paper towel
Elastic/rubber band – large enough to fit around the neck of your glass jar
Thermometer – ideally a stick-on thermometer that you can place on the outside of your brewing vessel
18 x 250ml fermentation bottles (you can make this kombucha in larger bottles if you prefer) – a fermentation bottle is a special pressure-rated bottle with a tight seal that is designed to keep in the fizz (see more details here).
Step-by-step: How to make Pink Grapefruit Kombucha
Make sure to head to the recipe card below for the full recipe and instructions for how to make this pink grapefruit kombucha recipe.
FIRST FERMENTATION
- Add your tea bags/loose tea and 1 litre of boiling water to a large jug. Let it brew for 15 minutes.
- Remove the tea bags/strain the tea and stir in the sugar until it has dissolved.
- Add 2.5 litres of cold water to your brewing vessel and then add the brewed tea.
- Once the liquid in the vessel reaches 21°C – 32°C (70°F – 90°F) add your starter tea and SCOBY.
- Cover the vessel with a breathable cloth and secure it with an elastic band. Set is aside somewhere warm (so it stays between 21°C – 32°C / 70°F – 90°F) for 7-10 days to ferment.
- Taste the kombucha after 7 days; if it still tastes sweet then leave it for a few more days, if it has the desired tanginess then you are ready to move on to second fermentation.
SECOND FERMENTATION
1. Freshly squeeze your pink grapefruit juice (you’ll need 1 litre) and distribute it between your kombucha bottles.
Note: If you’re using 250ml bottles, this will be about 55ml per bottle. If you’re using 1 litre bottles, this will be about 220ml per bottle.
2. Add 1 tsp of sugar to each 250ml bottle and give the bottles a swirl to combine the juice with the sugar.
Note: If you’re using 1 litre bottles, add 4 tsp of sugar per 1 litre bottle.
Note: You are adding sugar at the second fermentation to give the yeast something to feed on. This is what causes the carbonation and there should be very little sugar left by the time you come to drink it, so it won’t be too sweet. The sugar and carbohydrates listed in the nutritional information are as per the ingredients, so this should reduce significantly by the time of serving.
3. Remove the SCOBY from your brewing vessel and give the tea a good stir. Remove 500ml of the fermented tea and reserve it to use as ‘starter tea’ for your next batch of kombucha.
4. Distribute the remaining fermented tea between your kombucha bottles, filling them up to the neck.
5. Seal the bottles with an airtight lid and set them aside somewhere warm (21°C – 32°C / 70°F – 90°F) for 2-7 days to ferment and become fizzy.
6. After 2 days, if you can see bubbles in the liquid, take one bottle and put it in the fridge to chill (this stops the fermentation process). Once it has chilled, test it to see how carbonated it is. If it is fizzy, you can chill the remaining bottles ready to drink. If it is not yet fizzy, allow the remaining bottles to ferment for a few days longer before testing again.
FAQs
My kombucha isn’t fizzy, what can I do?
You need to use a sealed vessel (i.e. a bottle with a good airtight seal) during the second fermentation stage to achieve decent carbonation. Check out this blog post for tips for good carbonation but in summary, these things help:
- Before you bottle, stir the fermented tea in your brewing vessel to distribute the yeast.
- Use fresh fruit juice/puree, not store-bought juice.
- Use good quality bottles with airtight caps.
- Keep your SCOBY healthy.
- Don’t second ferment for too few or too many days. Around 3 days is usually perfect; 1-2 days may not be enough, and over 7 will likely be too many.
I’m worried about my bottles exploding, how do I avoid this?
It’s important to invest in good quality, pressure-rated fermentation bottles with an airtight lid to avoid explosions. If you do this, you should not have an issue with your bottles exploding.
Another tip is to not let your kombucha get too hot during the second fermentation stage because this can amplify the pressure within the bottle.
Check out this video for more details on how to avoid exploding bottles.
What are the stringy bits in my kombucha?!
Usually, this is just yeast, a natural part of the kombucha-brewing process. You can strain it out if you prefer to get rid of it. Take a look at this video for more details.
How do I fix kombucha that is too sweet or too sour?
The sweetness and sourness of kombucha is a scale that varies depending on the length of time a kombucha ferments. Check out this great video for details on how to fix kombucha that is too sweet or too sour.
How long does kombucha last?
Fermentation is in itself a method of preservation so kombucha, being a fermented tea, lasts well in the fridge, provided that it has been properly brewed and stored. However, bear in mind that it is a live product, therefore the acidic vinegar flavour increases as it ages and the live cultures continue to work.
For optimal enjoyment, we recommend consuming within a month. Read more here on how long kombucha lasts.
Loved this Pink Grapefruit Kombucha recipe? Here are some more fresh and fruity vegan recipes to try
I hope you LOVE this recipe for pink grapefruit kombucha! Please share this recipe with someone you think will enjoy it because it’s our goal to encourage as many people as possible to try plant based eating.
Also, don’t forget to tag @aveganvisit on social media when you make this recipe. I love seeing your re-creations! Enjoy 🙂 x
If you make this recipe, please leave a comment and star rating below – this provides helpful feedback to both me and other readers. If you want more delicious vegan recipes be sure to subscribe to the A Vegan Visit newsletter. We’d also love for you to join the AVV community on Youtube, Tiktok, Instagram, Pinterest and Facebook.
The Video Recipe:
The Written Recipe:

Pink Grapefruit Kombucha Recipe (Fizzy + Refreshing!)
Ingredients
For the first fermentation:
- 8 black tea bags (organic)
- 1 litre boiling water
- 175 g granulated sugar
- 2.5 litres cold water
- 500 ml starter tea (unpasteurised, unflavoured kombucha)
- 1 SCOBY
For the second fermentation:
- 1 litre pink grapefruit juice (freshly squeezed)
- 18 tsp granulated sugar (90g)
Equipment
- A brewing vessel (1 gallon / 4.5 litre glass jar)
- Breathable Cotton Cloth
- Elastic Band
- Thermometer Sticker
- Funnel
- 18 x 250ml bottles with an airtight seal (suitable for fermented carbonated drinks), clean and sterilised
Instructions
Stage 1: First fermentation
- In a large jug, add the tea bags and boiling water and let the tea brew for 15 minutes until nice and strong.8 black tea bags, 1 litre boiling water
- Remove the tea bags and add the granulated sugar to the jug. Stir to dissolve.175 g granulated sugar
- Add 2.5 litres of cold water to your brewing vessel (your large kombucha jar) and then add the brewed sweetened tea.2.5 litres cold water
- When the liquid in the vessel is between 70°F - 90°F (21°C - 32°C), add the starter tea and SCOBY.500 ml starter tea, 1 SCOBY
- Cover the jar with a breathable cotton cloth and secure it with an elastic band. Set it aside somewhere warm (so it stays between 70°F - 90°F / 21°C - 32°C) for 7-10 days.
- Taste your kombucha after 7 days; if it is too sweet then leave it a few more days, if it is the desired tanginess then you are ready to move on to the second fermentation.
Stage 2: Second fermentation
- Distribute the freshly squeezed pink grapefruit juice equally between your bottles. If you're using 250ml bottles this will be about 55ml per bottle.1 litre pink grapefruit juice
- Add 1 tsp of sugar to each 250ml bottle and shake gently to mix with the grapefruit juice.Note: You are adding sugar at the second fermentation to give the yeast something to feed on. This is what causes the carbonation and there should be very little sugar left by the time you come to drink it, so it shouldn't be too sweet. The sugar and carbohydrates listed in the nutritional information is as per the ingredients, so this should be reduced significantly by the time of serving.18 tsp granulated sugar
- Remove your SCOBY from your brewing vessel, along with 500ml of the fermented tea. You can use this 500ml as the 'starter tea' for your next batch of kombucha!
- Give the remaining tea in the brewing vessel a good stir.
- Fill the bottles to the neck with the fermented tea, seal with an airtight lid and set aside somewhere warm (70°F - 90°F / 21°C - 32°C) for 2-7 days.
- After 2 days, if you can see bubbles in the liquid, take one bottle and put it in the fridge to chill. Once it has chilled fully, test it to see how carbonated it is. If it is fizzy then put the remaining bottles in the fridge. If not, leave the other bottles out for another few days and then test again. When you put the bottle in the fridge this stops the fermentation/carbonation process.Note: This recipe should provide you with a beautifully carbonated kombucha. If you’re struggling to get carbonation, head to KombuchaKamp.com for some great tips and tricks to boost the fizz. Good bottles are key!
- When you are ready to enjoy your kombucha you might like to strain it through a tea strainer to remove any yeast strands or baby SCOBYs that have formed.

