
This post may contain affiliate links. Learn more.
Learn how to use a matcha whisk to create the perfect, frothy matcha tea, along with tips on cleaning, storing, and maintaining your whisk. Whether you’re a beginner or a long-term matcha lover, this guide covers everything you need to know!
Matcha is a gloriously vibrant green tea powder that is believed to have numerous health benefits. The key to achieving a smooth and creamy texture to your homemade matcha, is to use a traditional bamboo whisk (or chasen as it is also known).
A matcha whisk is a nifty tool that helps to blend the green tea powder with liquid, creating a frothy finish that is clump-free. In this guide, we’ll cover everything you need to know; from how to use a matcha bamboo whisk correctly, to proper care, cleaning and storage.
Read on to discover the answers to all of your matcha questions (and why a normal whisk just doesn’t cut it when making a matcha)!
Quick links:
- THE QUICK ANSWER! How To Use A Matcha Whisk: Step-By-Step
- Common Mistakes
- How To Make Matcha Without A Whisk
- Cleaning Your Matcha Whisk
- Storing Your Matcha Whisk

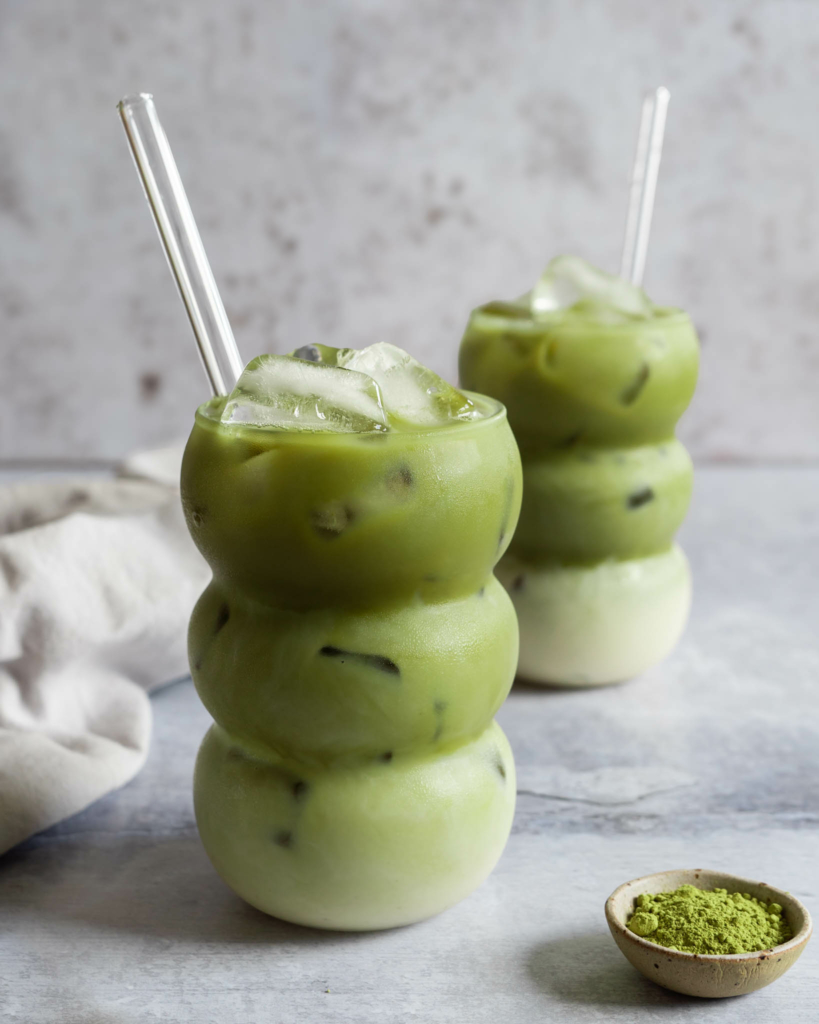
Hello fellow Matcha-lover! If you love a delicious cup of matcha, I think you’ll enjoy these recipes for Oat Milk Matcha Latte and our delicious Iced Vanilla Matcha Latte.
What is a matcha whisk?
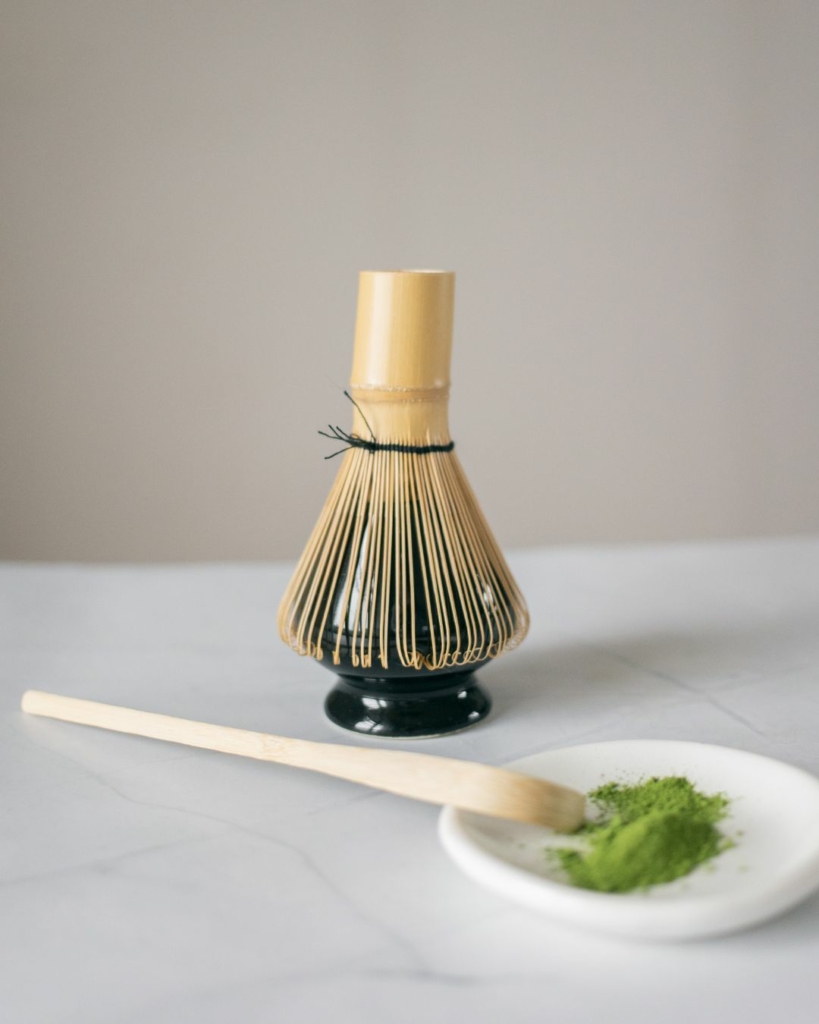
A matcha whisk, or bamboo chasen as it’s also known, is a delicate tool made from a single piece of bamboo. It has a small solid handle from which a number of tines (fine spindles) gently splay out and then curl back in on themselves.
As you can see from the image below, a matcha bamboo whisk differs significantly from the whisks you typically find in a kitchen. This traditional tool is specifically designed to work with matcha; the fine tines help to break down the green tea powder and blend it smoothly with water, creating the ideal frothy texture and preserving the matcha’s delicate flavour.
The Japanese tea ceremony (known as sadō or chadō) is a traditional ritual that celebrates the art of preparing and serving matcha. Tea ceremonies are an important part of Japanese culture and are used to promote harmony, mindfulness and well-being.
![]() How to use a matcha whisk: Step-by-step guide
How to use a matcha whisk: Step-by-step guide
Here we explore the most important steps involved in the traditional method of matcha preparation.
STEP 1. Pre-soak the whisk
Before each use you should soak your matcha whisk in warm water for 1-2 minutes (also known as ‘activating’ or ‘warming up’). This helps to soften the tines, making them more flexible and thus less prone to breaking.
Do you have to soak the whisk? No, but your whisk will last longer if you do. It’s especially important if it’s your first time using a matcha bamboo whisk since new chasens can be slightly stiff.
STEP 2. Measure the matcha
Use a bamboo spoon (chashaku) or a teaspoon to add 1/2 to 1 teaspoon of high quality matcha powder into a matcha bowl (chawan).
Note: If you’re new to matcha, start with 1/2 tsp, if you’re a seasoned matcha-drinker, you’ll likely enjoy closer to 1 tsp.
A chawan is a wide bowl that allows plenty of space for whisking the matcha and traditionally matcha is drunk directly from the chawan.
If you don’t have a chawan, you can whisk the matcha in any small bowl before transferring it to your drinking cup of choice. Alternatively, you can whisk the matcha directly in a wide-rimmed mug or mason jar, however you may find it more difficult to dissolve the matcha powder and create a proper froth.

STEP 3. Add the right amount of water
- For ‘thick’ matcha (koicha): Add 40ml hot water (80°C / 176°F)
- For ‘thin’ matcha (usucha): Add 70ml hot water
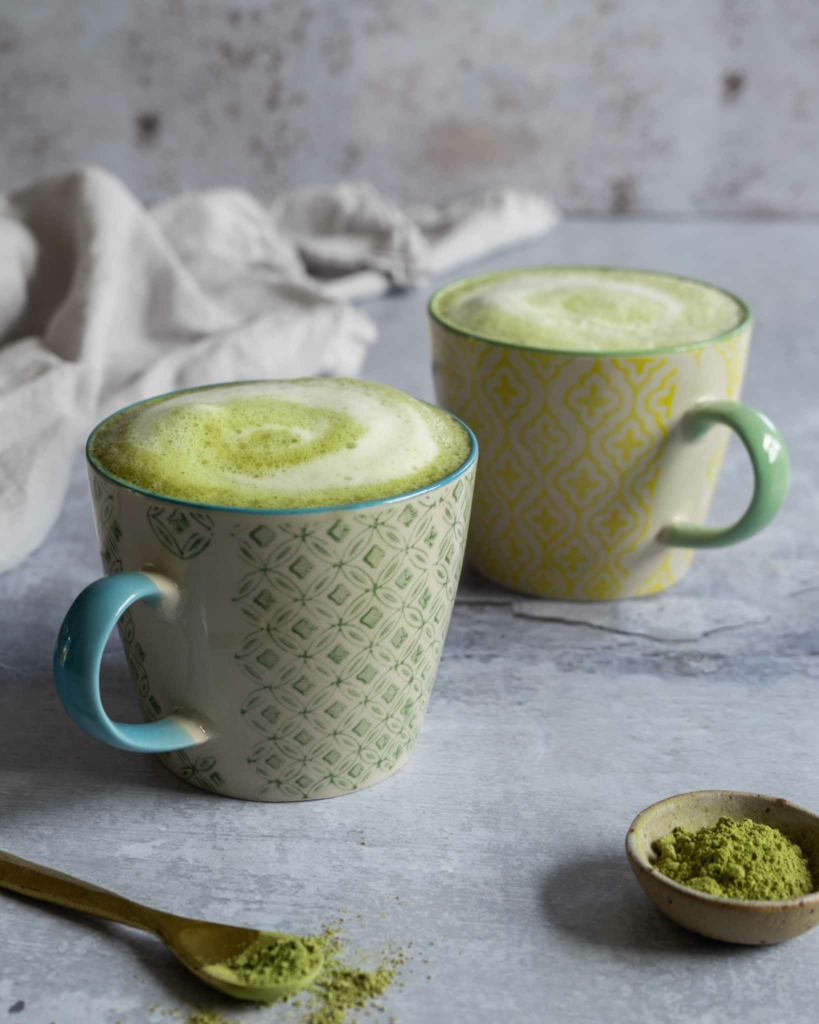
- For a matcha latte: Make a ‘thick matcha’ then top up with hot frothy milk (we like oat milk in matcha)
Note: You should whisk matcha with hot rather than cold water for optimal blending. Aim to use water that is around 80°C / 176°F. Don’t use boiling water because it can make the matcha taste bitter (if your kettle has just boiled, let it cool for around 6-8 minutes before using the water).
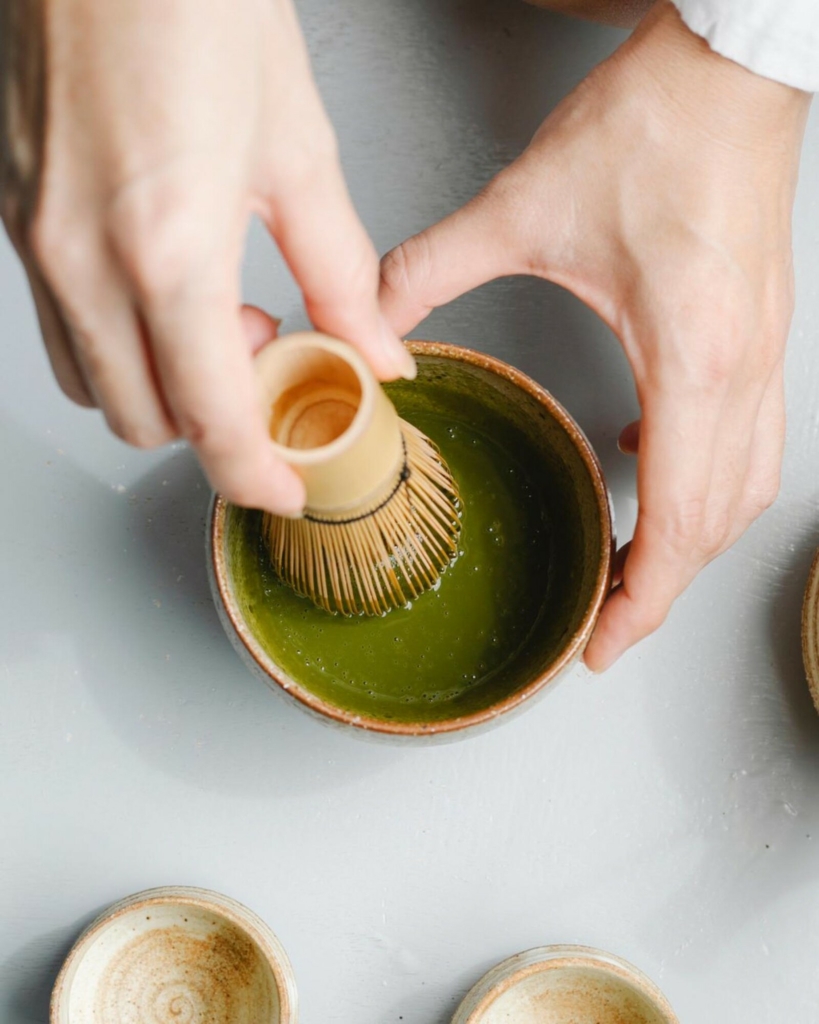
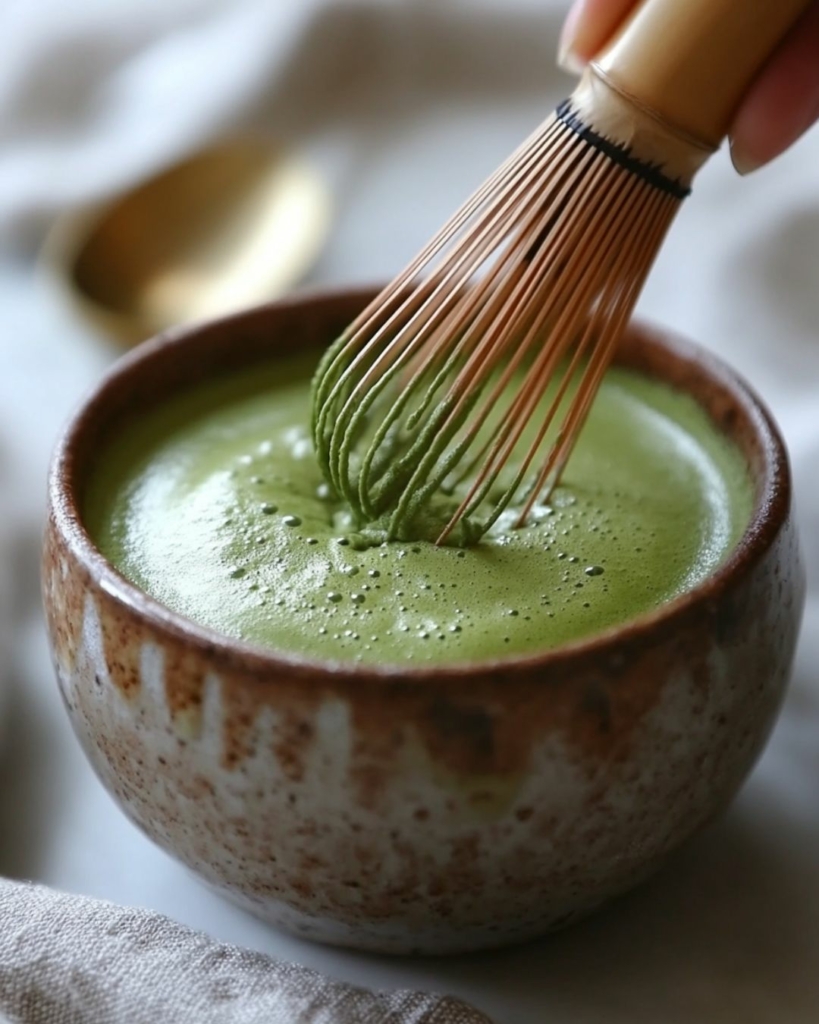
STEP 4. Whisk using the correct motion
Hold the matcha whisk in the liquid, without pressing it into the bottom of the bowl. Flick your wrist quickly backwards and forwards in an ‘M’ shape motion / zigzag pattern for 20-30 seconds until foam appears on the surface and the matcha powder has dissolved into the liquid.
What happens if you don’t whisk matcha? If you add water to matcha green tea powder without whisking it, the powder won’t blend with the water and there will be clumps of powder in your green tea. Not very pleasant to drink!
Common mistakes when using a matcha whisk
If you want to create the perfect cup of matcha, avoid these mistakes:
1. Not soaking the whisk first
Dry bamboo tines tend to be fragile and prone to breaking. Pre-soaking your bamboo whisk in warm water for 1-2 minutes before whisking will help to prolong its life.
2. Using water that is too hot
Using boiling water can give your matcha a bitter taste. Aim for 70-80°C (160-176°F) for best results.
Letting a freshly boiled kettle (4 cups full) sit for around 6-8 minutes should bring the water temperature down to around 70-80°C (160-176°F).
3. Pressing the whisk too hard
The tines of a bamboo whisk are delicate so don’t press down too hard on the whisk, otherwise you could cause damage. Use a gentle but fast back-and-forth motion whilst whisking, gliding just above the base of the matcha bowl.
4. Whisking too slowly
The key to creating a creamy froth is to whisk quickly. If your matcha isn’t frothing, try increasing your speed which should help to create a foamy matcha.
How To Make Matcha Without A Bamboo Whisk
If you don’t have a traditional matcha tea whisk, you can still prepare matcha using one of these methods:
- Milk frother: A handheld milk whisk can help to blend the matcha powder into the water and create foam, although it won’t replicate the traditional texture.
- Blender: If you’ve got a vented blender that is safe for use with hot liquid, you can add the matcha powder and water to the blender and blend for a few seconds to create a smooth green tea.
- Small whisk: If you’ve got a small standard metal whisk you can use it to blend the matcha powder into the water. Blend the liquid into the powder a little bit at a time for best results but be aware that clumps may still remain.
- Fork or spoon: You can use a fork or teaspoon to stir the matcha powder into the water. This isn’t an ideal method as clumps will likely remain but it may help in a pinch.
For best results, a bamboo whisk is definitely the way to go, it is by far the most effective method for blending the green tea powder smoothly and creating that traditional creamy, micro-foam texture.

How to clean a matcha whisk
Here’s how to wash a matcha whisk in three simple steps:
STEP 1. Rinse immediately after use
Hold the whisk under warm, running water to gently wash off any remaining powder. Use your fingers to gently loosen any clumps of matcha.
Avoid using washing up liquid as this can damage the bamboo.
STEP 2. Shake off excess water
Gently shake the whisk to remove any excess water. Avoid using a tea towel to dry the whisk because it can bend or snap the delicate tines.
STEP 3. Air dry properly
Ideally place the whisk on a matcha whisk holder (kusenaoshi) to dry. A kusenaoshi (pictured below) is a specially designed stand that helps to preserve the shape of the whisk.
If you don’t have a holder, allow the whisk to dry fully by standing it on it’s handle with the tines facing up.
How to store a matcha whisk
Here is the best way to store a matcha whisk to extend its lifespan:
- Use a matcha whisk stand (kusenaoshi – pictured below) to maintain it’s original shape
- Store the whisk in a cool, dry place away from humidity
- If you don’t have a whisk holder, store the whisk on it’s handle (tines up) to ensure air circulation and prevent warping. Store it somewhere where it is not going to get knocked and damaged by other items.
- Don’t store your whisk in an airtight container because trapped moisture can lead to mould.
How often should you replace your matcha whisk?
How often you should replace your traditional bamboo matcha whisk will depend on how gently (or not) you use it, the quality of the whisk itself and how carefully it is stored.
With regular careful use, the whisk should last 6-12 months before the tines start to weaken and break. A good rule of thumb is, if you’ve lost 10% (or more) of your tines, it’s time to replace it.
Note: If you have any hygiene concerns, such as mould, you should replace your whisk straight away.
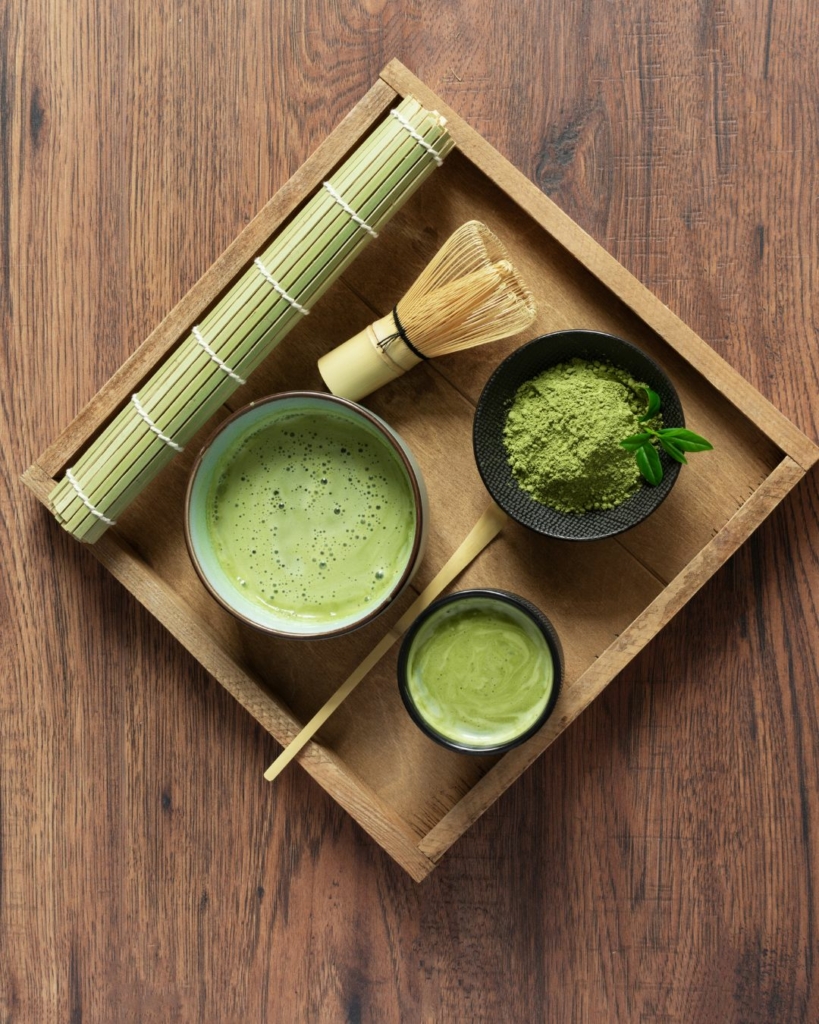
What equipment do I need to prepare matcha?
If you’d like to prepare matcha the traditional way, you’ll need a few essential tools, which you can view and purchase (or not) via the links below:
- A chasen (matcha whisk)
- A chashaku (matcha scoop)
- A chawan (matcha bowl)
- A kusenaoshi (matcha whisk holder)
- A good quality matcha green tea powder
- And, not so traditional, but if you like a matcha latte, this handheld milk whisk is a bargain and works like a dream!
Alternatively, you can purchase a full matcha set here.

These are affiliate links which means that we may earn a small commission from them (at no additional cost to you). If you choose to make a purchase via one of these links, please accept our gratitude. Your support helps us to continue to make free content like this for you and other readers.
I hope from this article you can see that the traditional preparation of matcha tea, with a chasen (whisk), chashaku (spoon) and chawan (bowl), is a beautiful ritual. Each piece of equipment is used with care, and plays an important part in creating this wholesome antioxidant-rich drink.
Love the taste of matcha? You’ll love these recipes!
I hope you found this article for ‘how to use a matcha whisk’ helpful! Please share it with someone you think will find it useful and don’t forget to tag @aveganvisit on social media if you share it there. Enjoy 🙂 x
If you’d like delicious vegan recipes and useful articles delivered to your inbox be sure to subscribe to the A Vegan Visit newsletter. We’d also love for you to join the AVV community on Youtube, TikTok, Instagram, Pinterest and Facebook.
Tara
Hi, I’m Tara. I share comforting vegan recipes with a healthy twist – nourishing, approachable and designed for real life. I’m so pleased you’re here!